Felt & Ultra Light
Follow these four critical steps to properly install the thread piece on your Vanward Felt or Ultra Light suppressor.
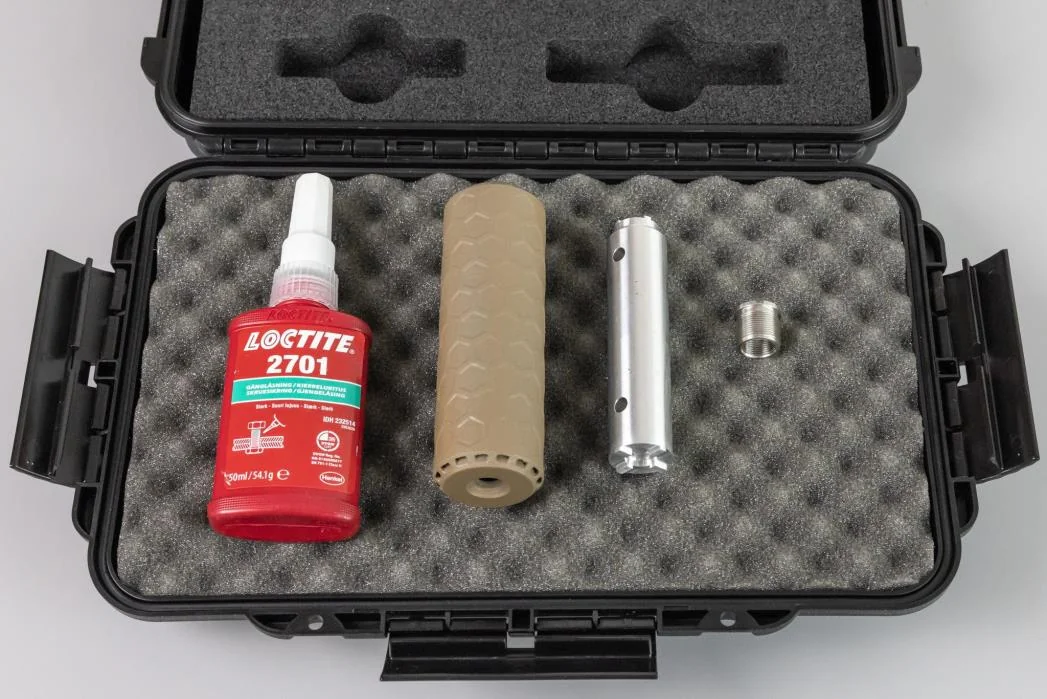
Prepare Your Tools
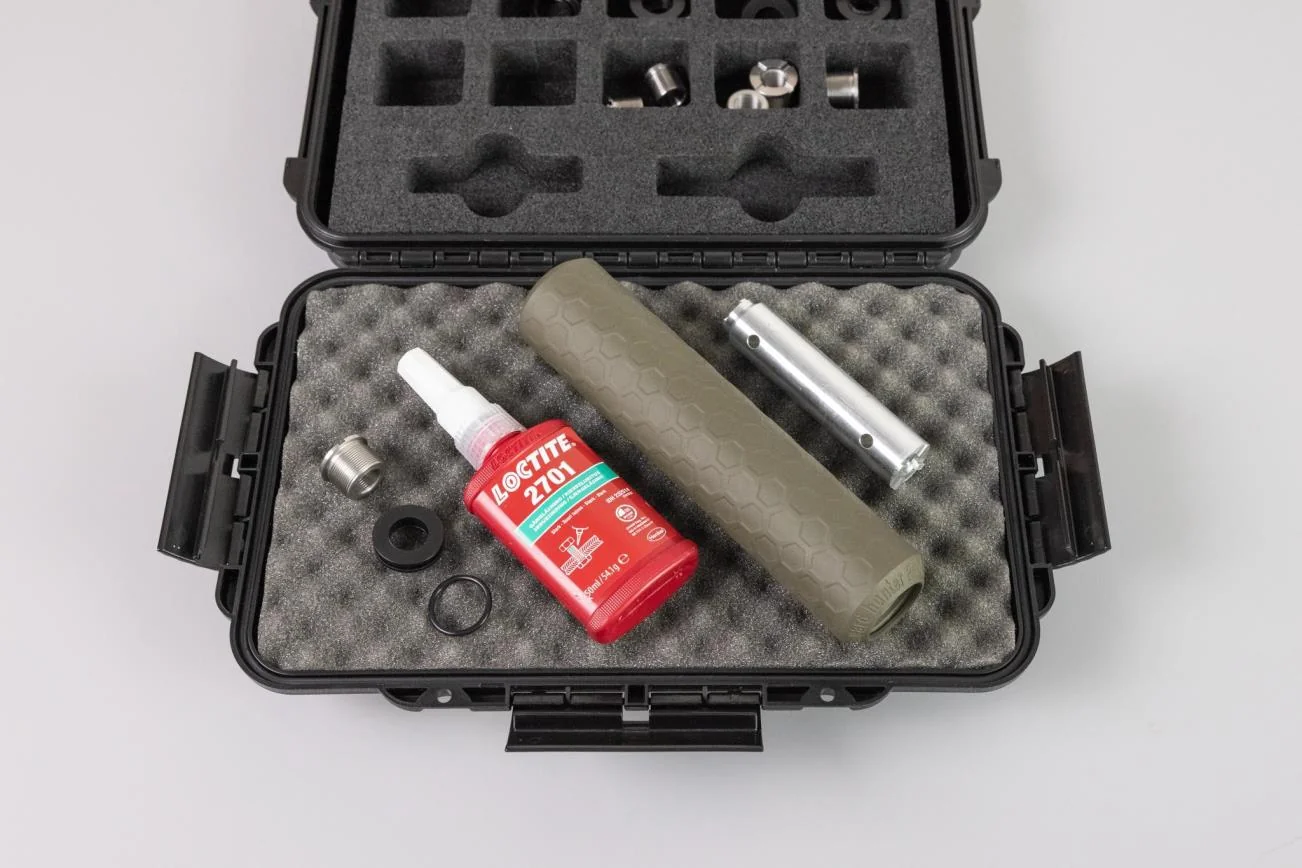
- check_circle Loctite 2701 or similar
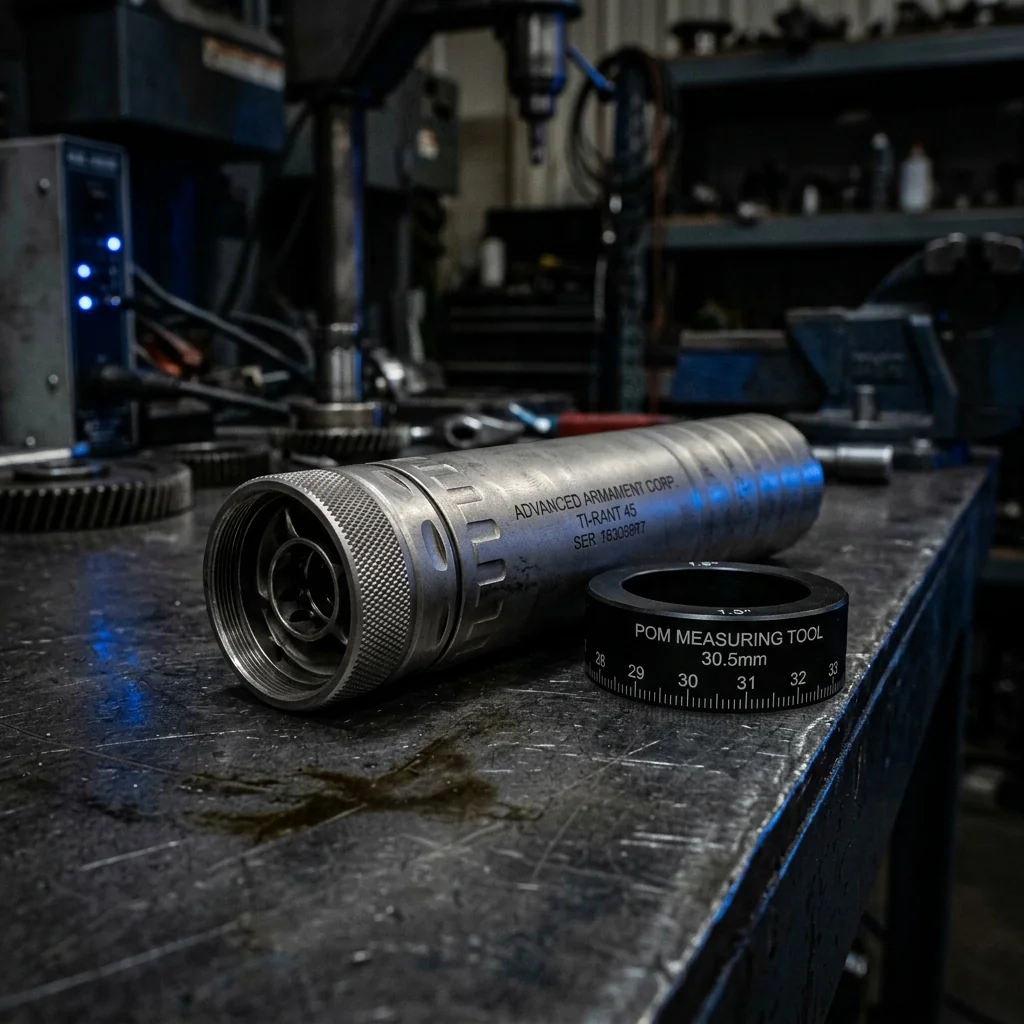
- check_circle The suppressors
- check_circle Thread Tool
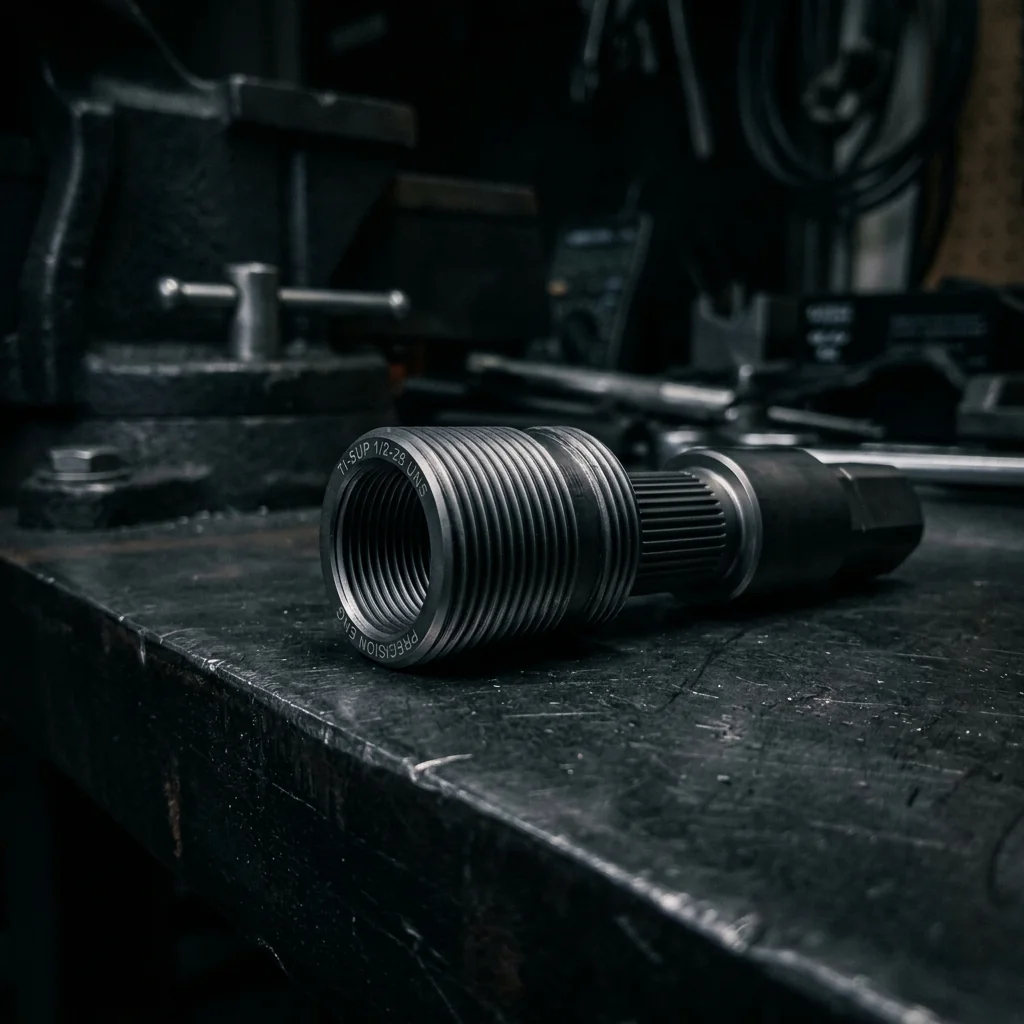
- check_circle Correct thread-insert
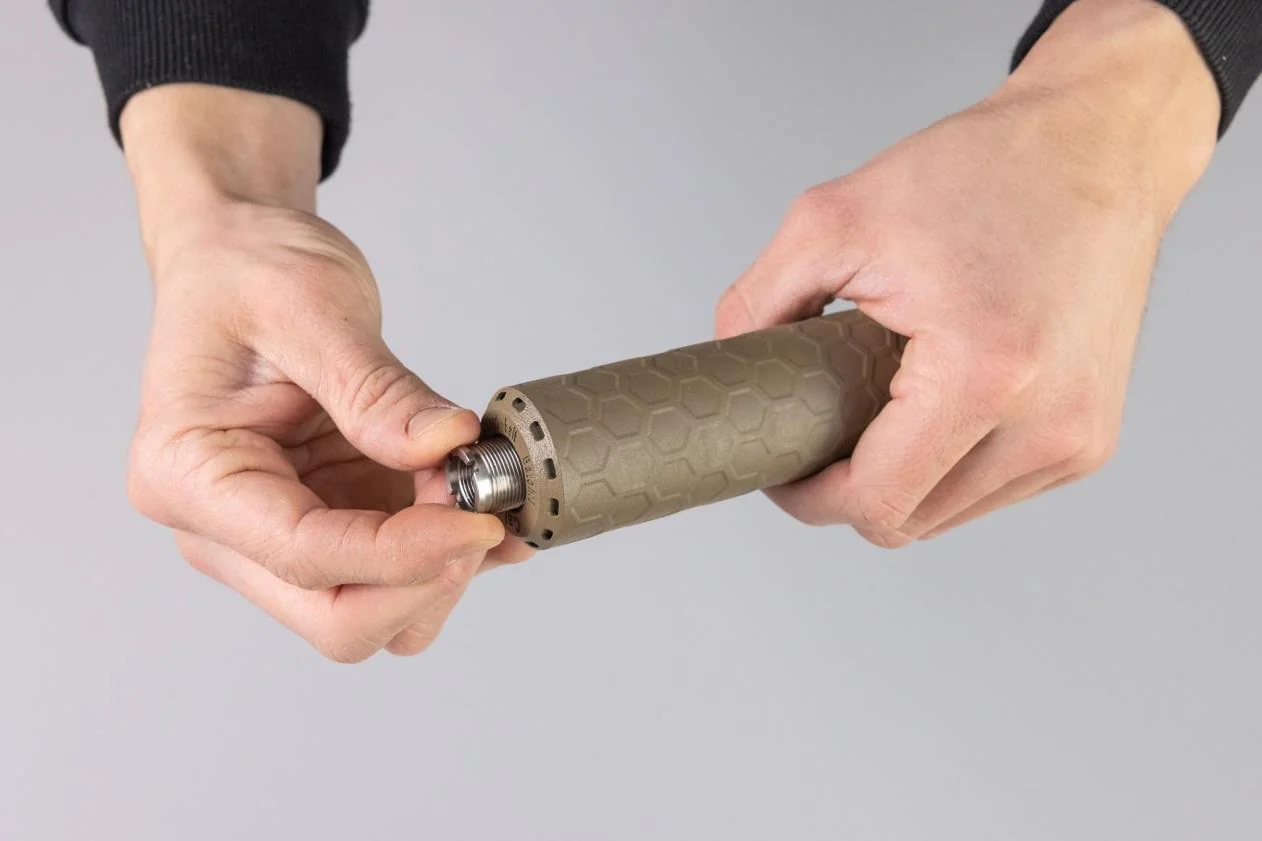
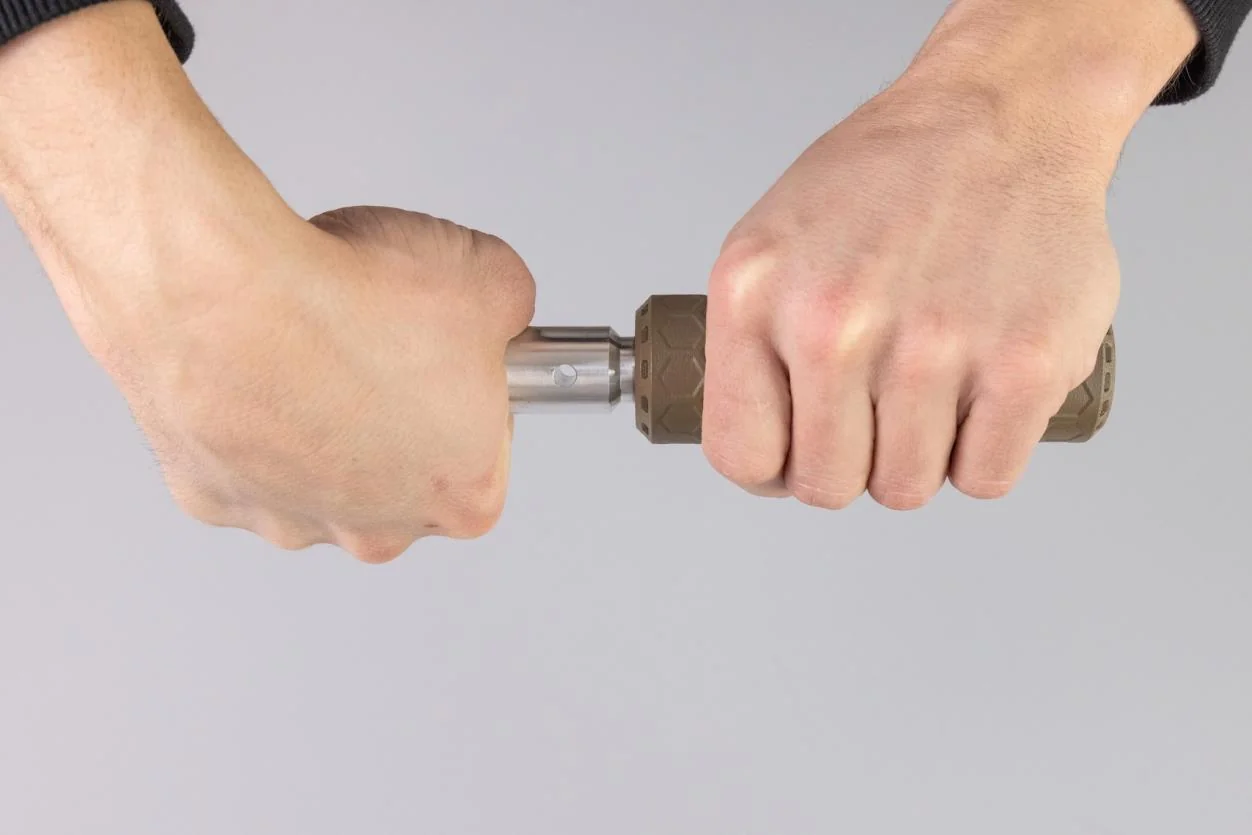
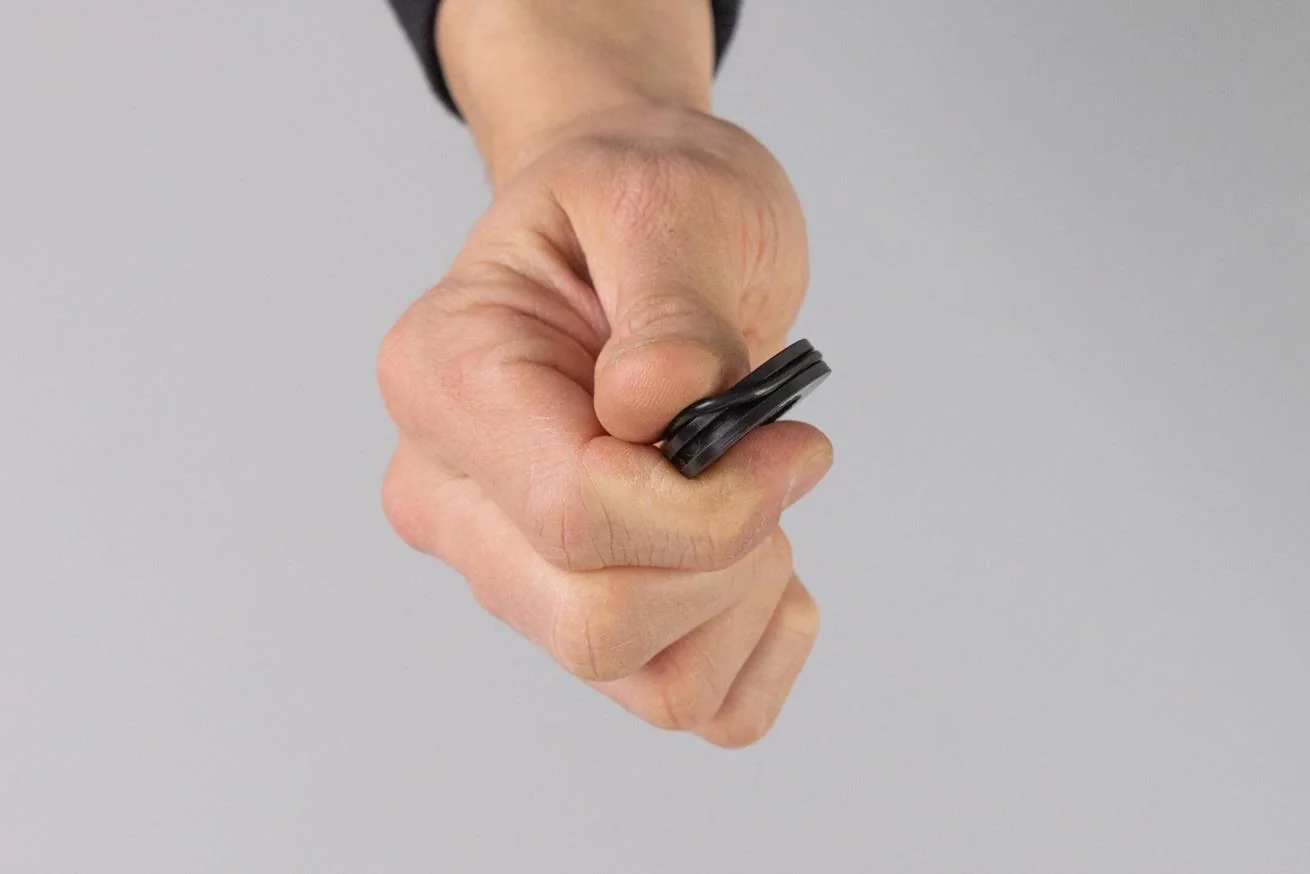
Initial Entry
Enter the thread piece into the suppressor by one turn only. Do not tighten further at this stage.
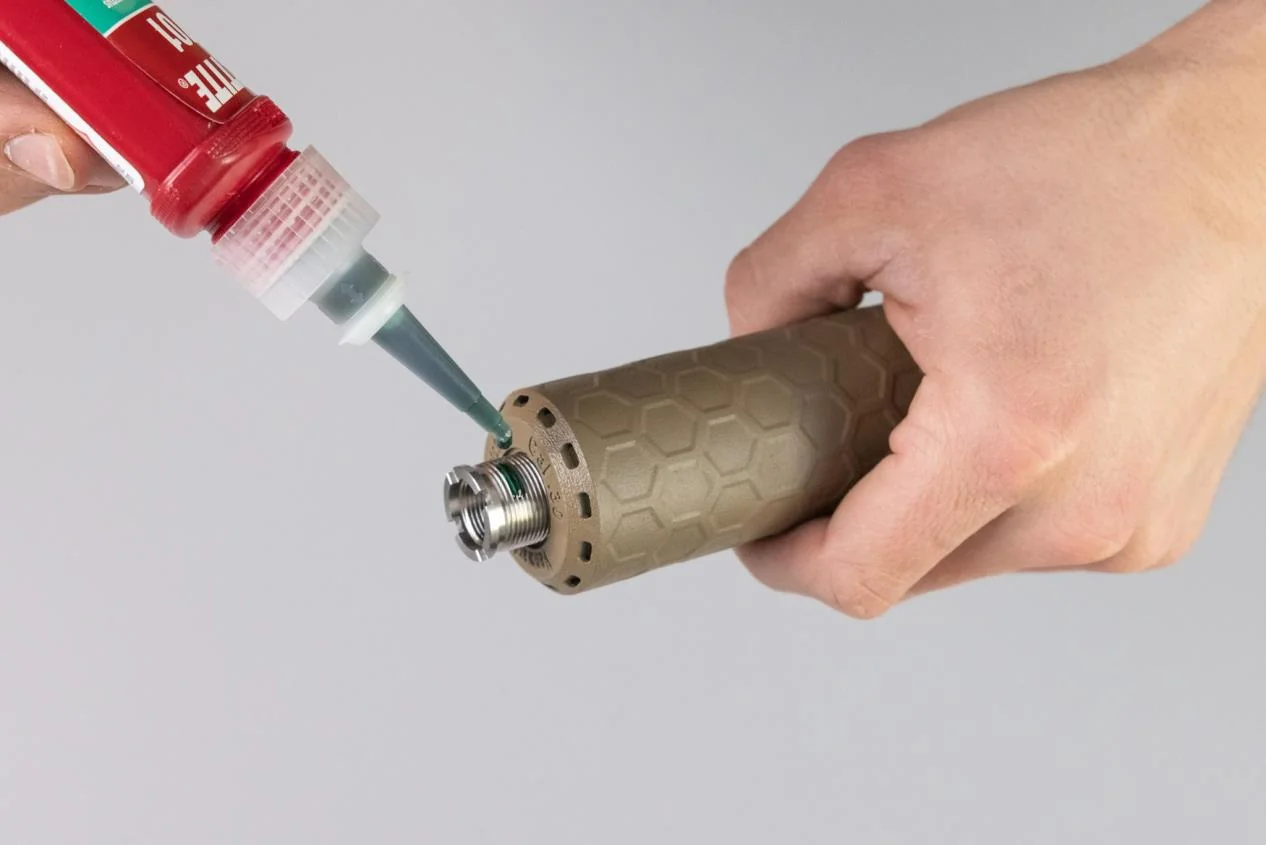
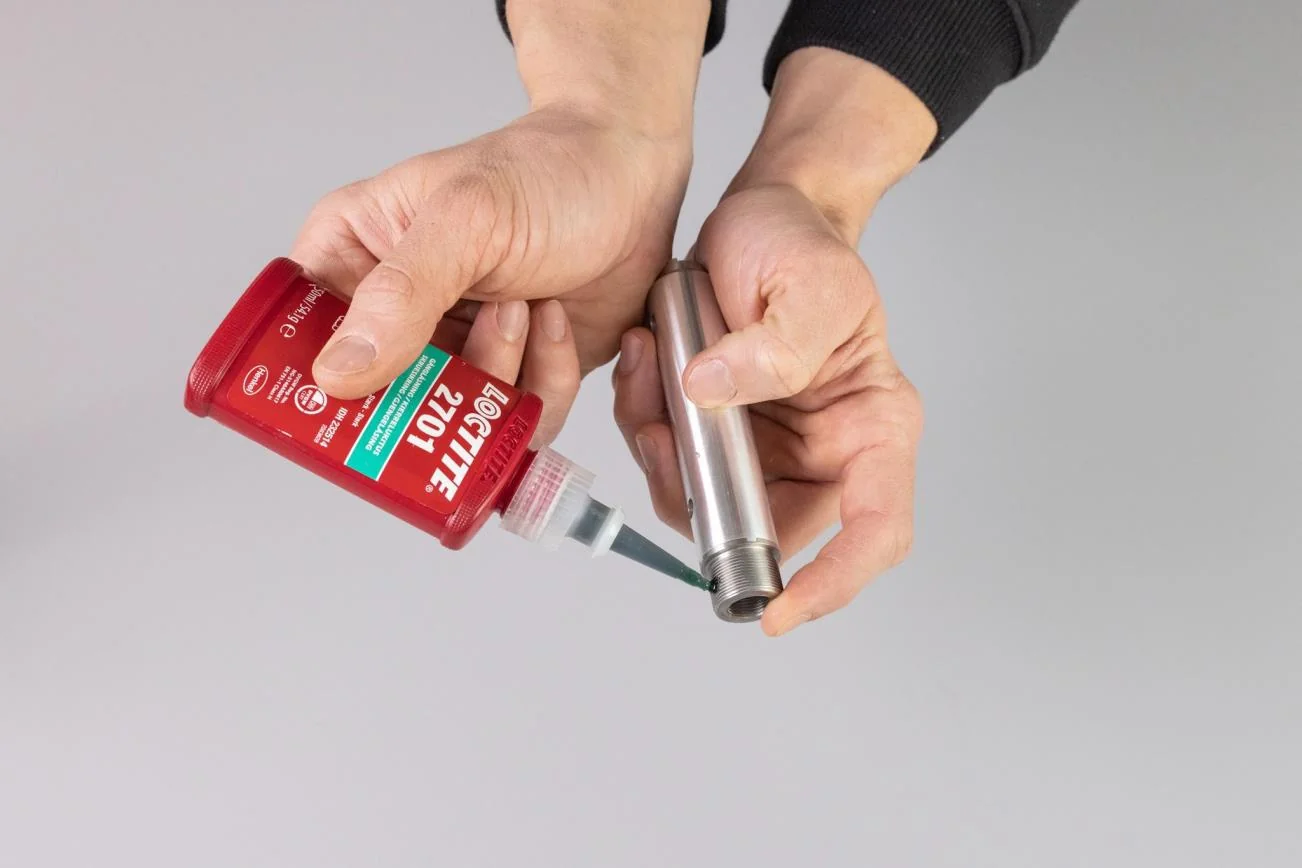
Apply Loctite
Apply a drop of Loctite 2701 on each side of the thread-piece to ensure a secure, vibration-resistant bond.
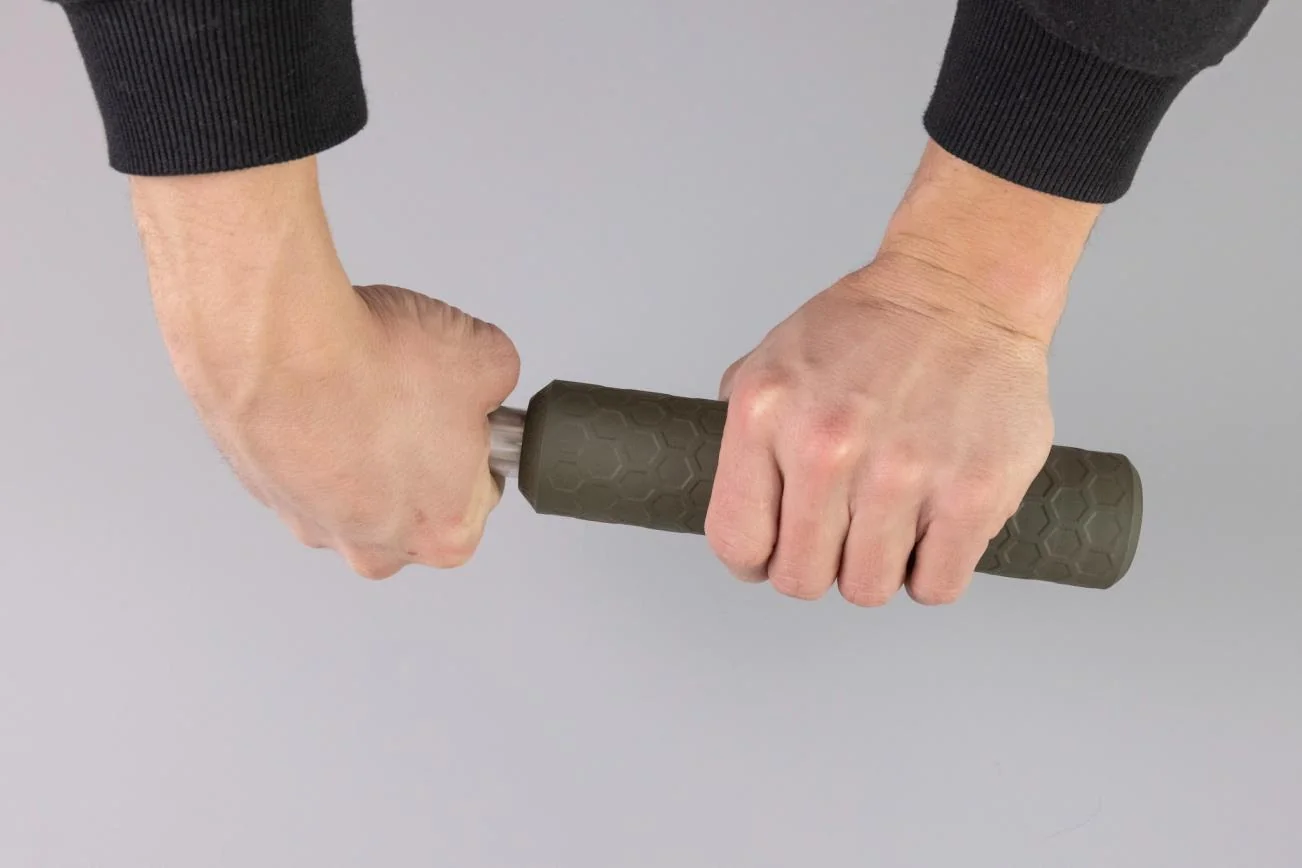
Final Tightening
With the thread tool, tighten firmly until the thread pieces clearly bottom the threads. Use a screwdriver or a rod in the pre-drilled holes in the thread tool for leverage in the final tightening.
Important: Make sure the tool is flush with the thread-insert.
Hunter & Hunter Pro
Comprehensive installation including POM-ring measurement and insertion mechanics.
Preparation
- check_circle The suppressors
- check_circle Thread insert Tool
- check_circle Correct thread-insert
- check_circle POM and O-Ring
- check_circle Loctite 2701 or similar
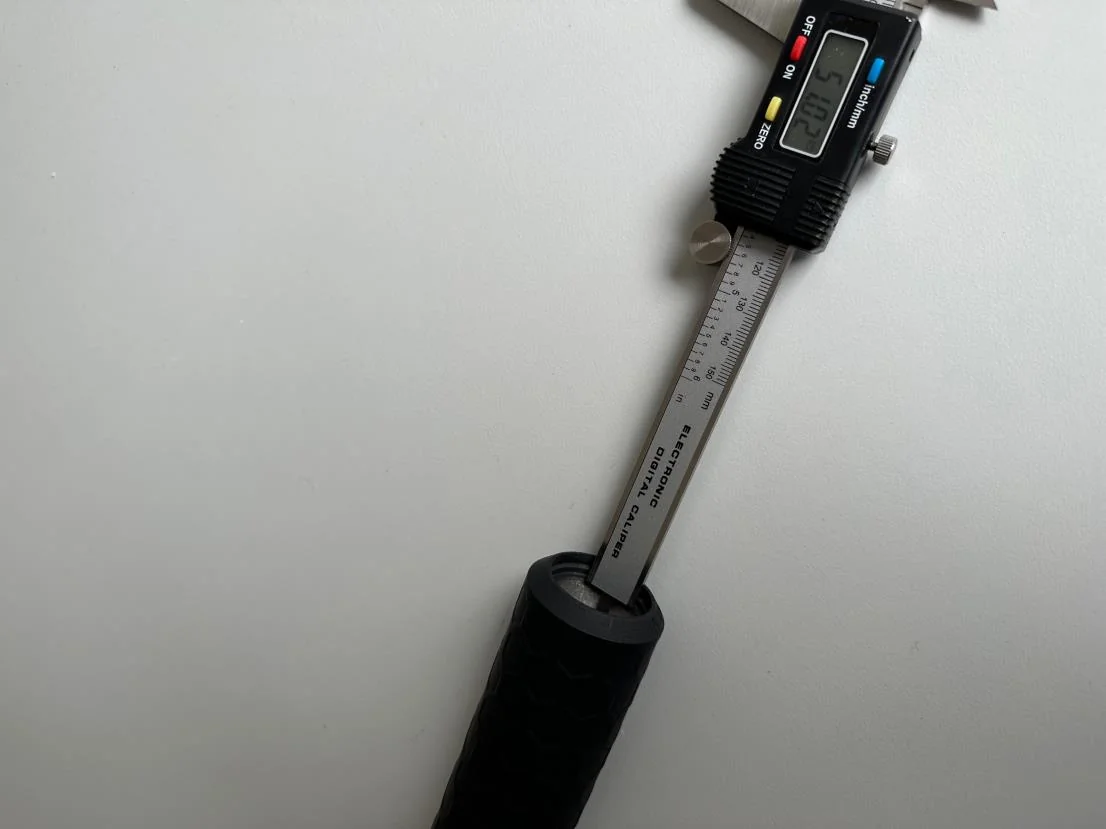
Verify Dimensions
Verify the measurement of 51 mm from the POM-ring groove to the contact-surface for the thread-insert in the suppressor.
Apply Loctite
Apply a drop of Loctite 2701 on each side of the thread-piece.
Tighten Firmly
With the thread tool, tighten firmly until the thread pieces clearly bottom the threads. Use a rod or screwdriver in pre-drilled holes for leverage.

Final Verification
Verify that the distance from the POM-ring groove to the contact-surface for the thread-insert is now exactly 49mm.
POM-Ring Selection
- Measure barrel diameter 80 mm from muzzle.
- Ensure clearance between POM-ring and barrel.
- Recommended clearance: 0.15 - 0.5 mm.
- Insert the O-ring into the groove in the POM-ring.

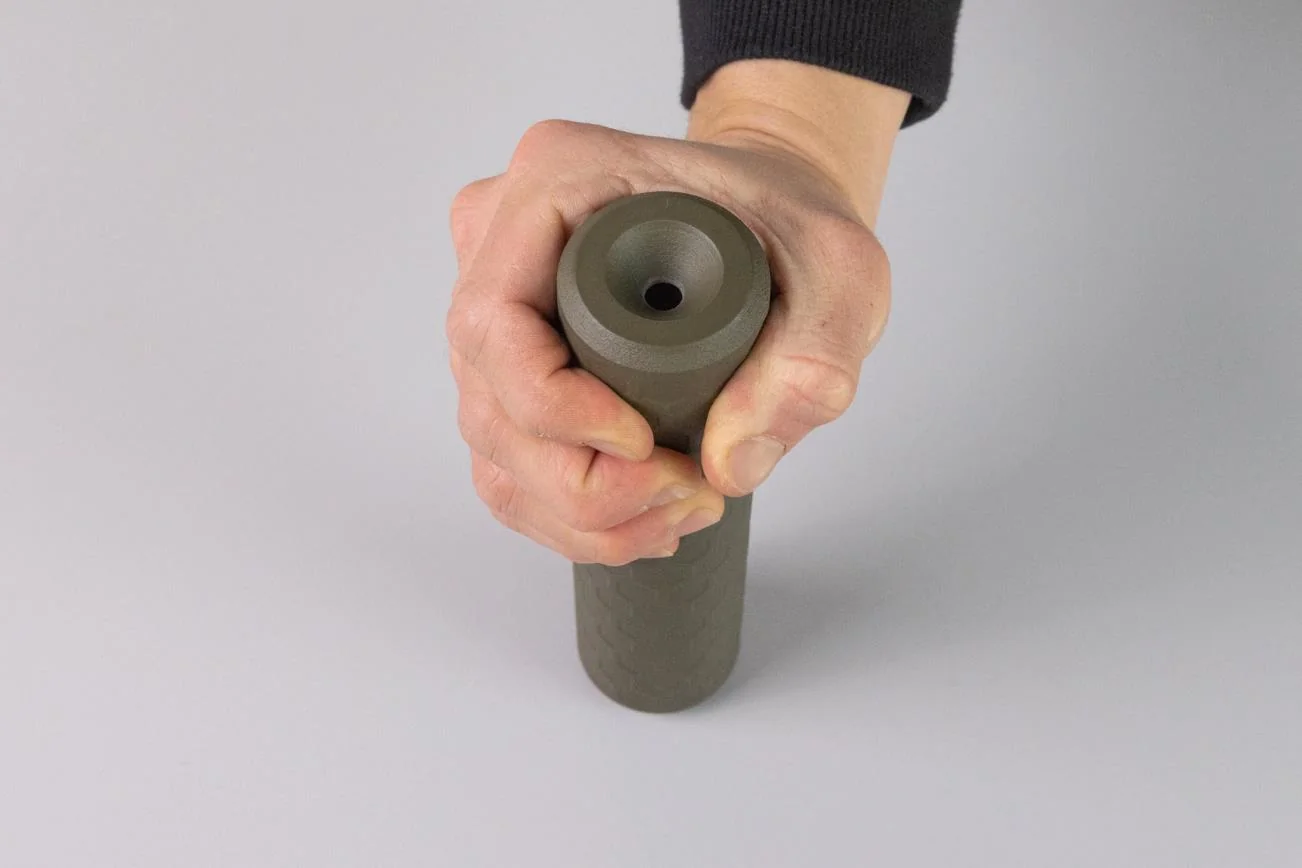
Insert the POM-Ring
Press the POM-ring into the suppressor until it snaps in place securely.
Difficult POM-Rings
If the POM-ring is difficult to press all the way in by hand, try pressing it securely against a hard, flat surface.